Photos by Harold Alexander, 2008
Ice Rescue Training -- Step One
Cut a hole in the ice. On the day we trained, the ice was more than 30 inches thick, so strong it would not break, even under the weight of a truck. Tony Simons and Justin Whitesell of Larimer County Emergency Services kindly volunteered to make a hole for us while we were in class. They spent more than four hours cutting a hole in the ice with a chainsaw. Then we had to push the plug of ice down to get it out of the hole so we could get to the water.
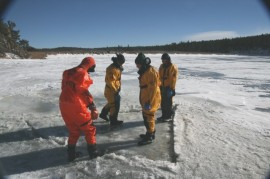
Ice Rescue Training -- Step One Cut a hole in the ice. On the day we trained, the ice was more than 30 inches thick, so strong it would not break, even under the weight of a truck.
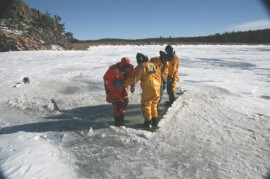
Ice Rescue Training -- Step Two We're going to need more weight.
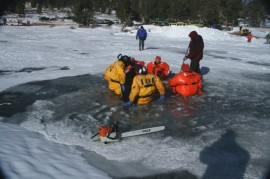
Ice Rescue Training -- Step Three Still more weight, and we're finally getting it to move.

Ice Rescue Training -- Step Four The plug of ice is now down and slid out of the way under the ice shelf. When we've finished our training, we'll float the plug back out and into position, so the ice can refreeze and seal the hole we made.
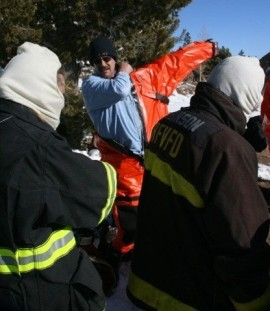
Ice Rescue Training -- Step Five Get into an ice rescue suit (one size fits all).

Ice Rescue Training -- Step Six Help may be necessary in getting the zipper all the way up.
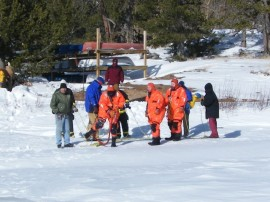
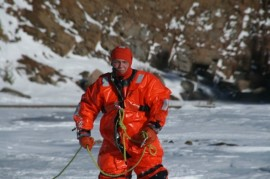
Ice Rescue Training -- Step Seven Get hooked up to the ropes handled by the people doing Shore Support. No ice rescuer goes out on the ice without at least one backup in an ice rescue suit to help them if it becomes necessary.
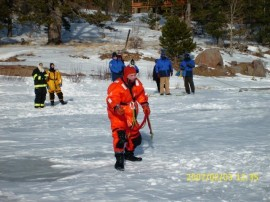
Ice Rescue Training -- Step Eight Start out on the ice. Shore Support makes verbal contact with the victim, talking to them and reassuring them while the ice rescuer begins to make their way to the victim. The ice rescuer shuffles to spread their weight out as much as possible.
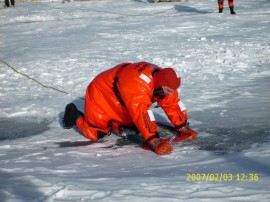
Ice Rescue Training -- Step Nine Crawl to spread your weight out more.

Ice Rescue Training -- Step Ten Approach at an angle, to avoid breaking the ice in front of the victim, and roll the last few feet to spread your weight out even more.
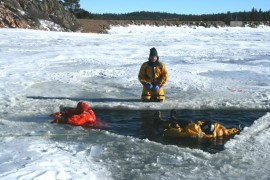
Ice Rescue Training -- Step Eleven Ice rescue suits are amazingly buoyant. The hardest part is keeping your feet down.
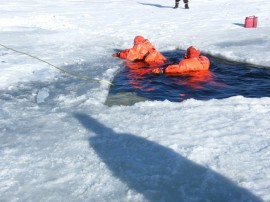
Ice Rescue Training -- Step Twelve Come up behind the victim and secure the rescue sling around their chest.
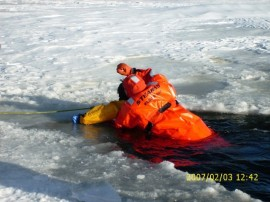
Ice Rescue Training -- Step Thirteen Right hand up means you're good to go.
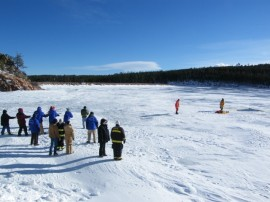
Ice Rescue Training -- Step Fourteen Pull!
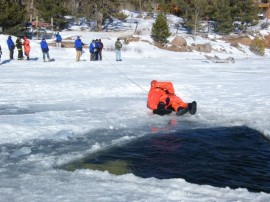
Ice Rescue Training -- Step Fifteen Pulled by Shore Support, ice rescuer and victim slide up onto the ice to safety.
Ice Rescue Training -- Step Sixteen Keep practicing. We'll train again in the spring, when the ice is thinner and we can practice additional methods of rescue.
We'll train again in the spring, when the ice is thinner and we can practice additional methods of rescue, including the use of the ice rescue sled we purchased last year with funds donated by Kay Hood in memory of her husband Ken, a longtime member of the department, and additional funds raised by our Special Duty Responders. In the meantime, we're ready for an incident on the ice, though we hope everyone will be cautious and make all this practice unnecessary.


